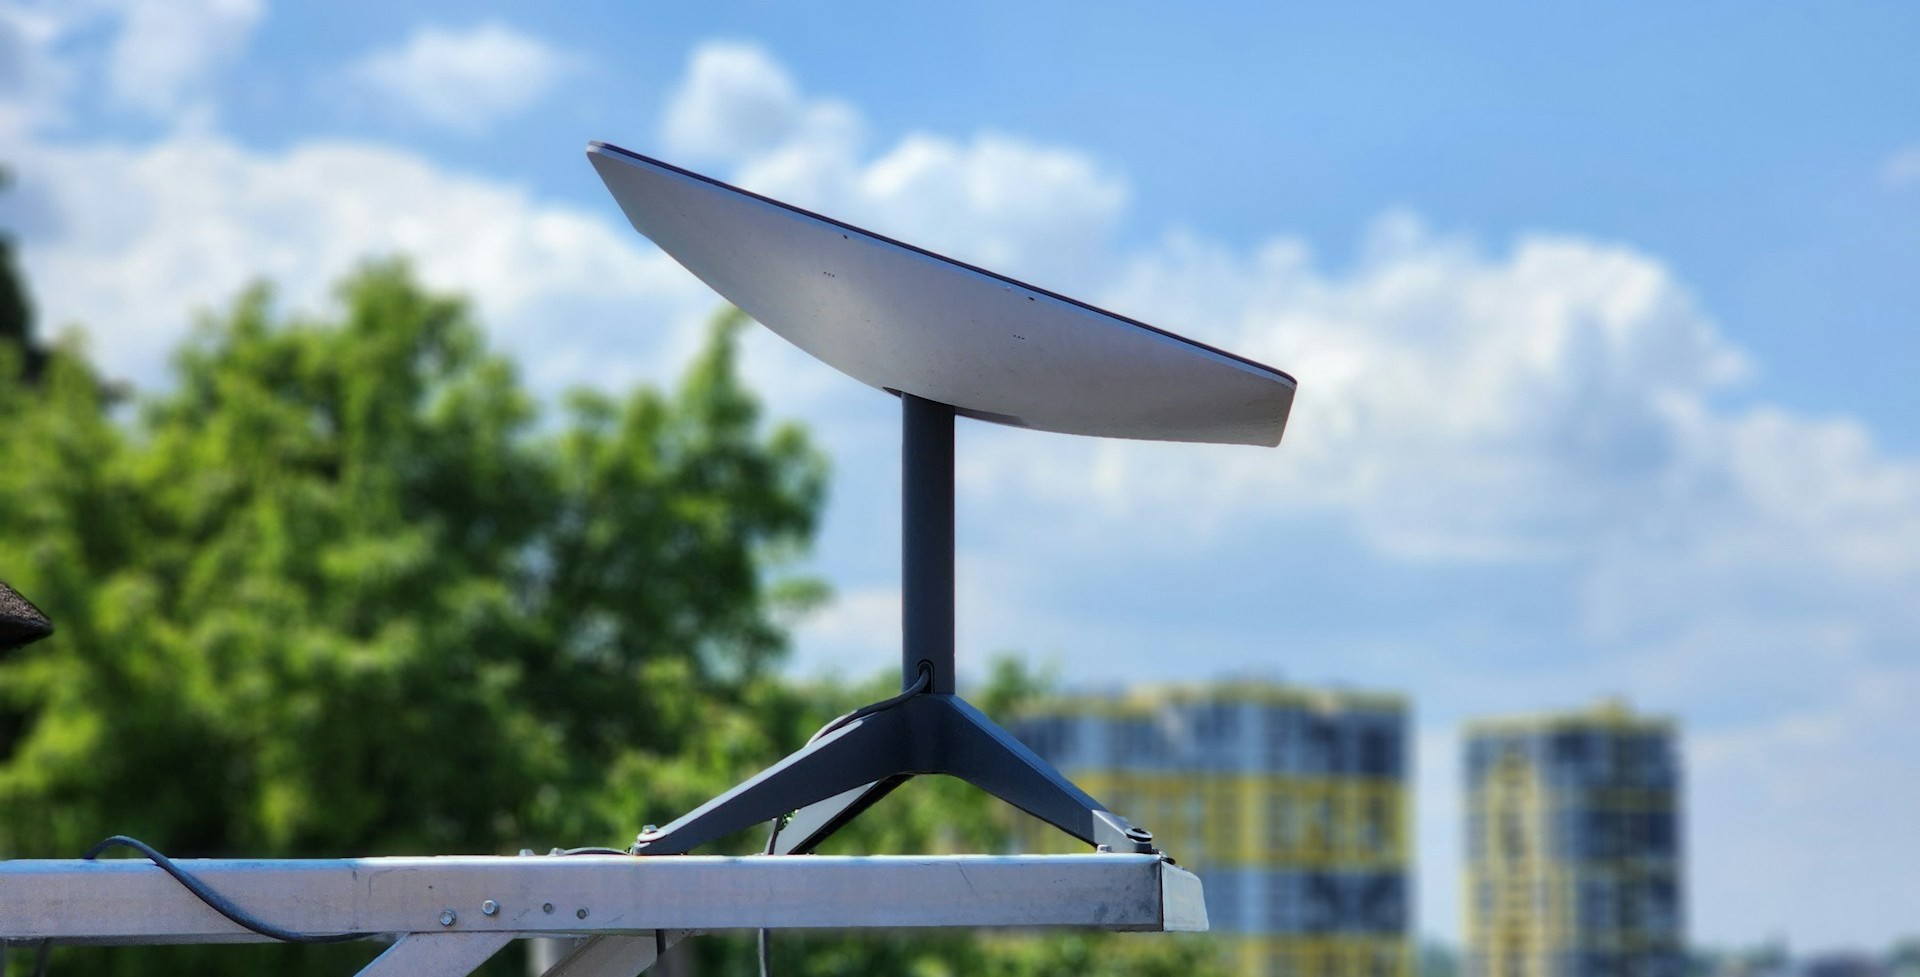
A Starlink dish can sit on your roof for years, but the account behind it is what makes it usable. If you sell the hardware without transferring ownership inside Starlink, the new person may end up with a dish they can’t activate.
That matters whether you’re buying used equipment, selling your current setup, splitting two kits between family members, or trying to move a promotional unit into someone else’s name. The process is not hard, but it does have a few rules that can stop you cold if you miss them.
Here’s how the transfer works from both sides, seller and buyer, so the handoff goes smoothly.
Why Starlink transfers matter more than most people expect
A lot of people think a Starlink sale works like selling a router or a TV. It doesn’t. The hardware is tied to the original owner’s account, so handing over the dish, cable, and router is only half the job.
That becomes a problem fast in real life. Maybe you bought a used Starlink from a friend. Maybe you got a second kit through a promotion and now both units sit under one account. Maybe two people split a purchase, then later want separate billing, separate plans, and no shared logins. In each of those cases, the clean fix is a formal ownership transfer.
The same issue comes up when a kit is no longer needed. Some people upgrade hardware, switch providers, donate a dish, or keep a spare unit sitting in a closet. If that kit stays on the old account, billing and control stay there too. That can create confusion over charges, plan changes, and who actually owns the service.
A used Starlink isn’t fully “yours” until the original owner transfers it through the account.

Promotions make this even more common. When Starlink offers free or discounted hardware, people often end up with two kits on one account. Later, one person wants a different plan or wants to stop splitting payments. That’s when transfer rules suddenly matter.
If you’re moving instead of selling, the billing side can get tricky too. A broader guide on moving internet service helps show how provider rules can change when equipment and service move to a new address.
The rules to check before you try to transfer a Starlink
Before the Transfer button becomes available, Starlink applies a few conditions. The biggest one is simple: the current service must be canceled first. As long as the subscription is still active, the transfer option may stay locked.
There are timing rules too. In the walkthrough, the kit had to be at least 120 days from purchase or 90 days from activation before it could be transferred. If the dish is newer than that, the transfer may not go through yet.
Promotional units can add another layer. Some free-hardware offers require the kit to stay on the original account for a minimum period, often 12 months. Those terms can vary by deal, so the offer you accepted matters as much as the hardware itself.
Another point catches buyers off guard. Canceling service does not always mean it shuts off that same minute. If the current billing cycle is already paid, access often continues until the end of that cycle because Starlink does not refund unused time. After that, the kit becomes inactive and the transfer can proceed.
This quick table sums up the main checks:
| Requirement | What it means |
|---|---|
| Service canceled | The transfer option appears after the subscription becomes inactive |
| Minimum age of kit | The walkthrough showed 120 days from purchase or 90 days from activation |
| Promotion terms | Some free or discounted kits may have a minimum hold period before transfer |
| Availability at buyer location | The new owner still needs an available plan at their service area |
| Current billing cycle | Service may stay active until the paid cycle ends, with no refund for unused days |
The big takeaway is clear: a dish can be physically ready to sell before it’s account-ready to transfer.
For the most current policy, Starlink’s own ownership transfer help article is the best reference point. Rules can change, and plan availability can vary by location.
How the seller transfers the Starlink kit
Cancel the current plan first
The seller starts inside the Starlink account, under the subscription area. From there, select the Starlink kit that will be transferred and scroll down to the transfer section.
If the button is still unavailable, the usual reason is that the service has not been canceled yet. In the same account area where you would normally manage or change a plan, there is also an option to cancel service. During that step, Starlink may ask for a reason. Choosing the transfer-related reason helps keep the record clear.
This is where billing timing matters. If the month has already been paid, the service may remain usable until the cycle ends. After that point, the subscription status changes to inactive. That inactive state is what unlocks the transfer process.
There is also a useful detail here for owners who are not selling yet. An inactive Starlink is not the same as a transferred Starlink. If you only cancel service and leave the hardware on your account, you may still be able to reactivate it later, depending on local availability. In other words, canceling pauses ownership movement, while transferring ends your control of the kit.

That distinction explains one of Starlink’s warnings. Once the transfer is confirmed, the seller loses the option to simply turn the plan back on. The kit is leaving the account, not sitting idle inside it.
Confirm the transfer and enter the buyer’s email
Once the subscription shows as inactive, go back to the same Starlink entry and scroll to the transfer section. The Transfer button should now be active.
Starlink then shows a warning that service will stop immediately after the transfer. That message matters because up to this point, the seller may still have had a path to reactivation. After the transfer, that path is gone.
The next step is entering the buyer’s email address. This is the email that will receive the activation message and the transfer token tied to the hardware. One wrong character can send the process to the wrong inbox and create a mess neither person wants.
Double-check the buyer’s email before sending. The hardware is removed from the seller’s account as part of the handoff.
After confirmation, the kit disappears from the seller’s subscription list. In the example shown, the account immediately displayed no active subscriptions for that hardware. At that point, the seller’s part of the job is done.
How the buyer activates the transferred Starlink
Use the transfer email to start activation
The buyer receives an email saying the Starlink equipment has been unlocked and is ready for activation. That email is the bridge between old ownership and new ownership.
When the buyer opens the activation link, Starlink may already fill in the hardware code automatically. In the walkthrough, the token was preloaded, so there was no need to hunt down a serial number or type in a kit ID by hand. That makes the process much easier for used hardware sales.
The buyer then chooses between two paths: activate the dish on an existing account or create a new account. If the person already has other Starlink subscriptions, they can add the transferred unit to that same login. If not, they can build a new account during setup.
Next comes location. Enter the city or service address so Starlink can show which plans are available there. Availability matters because the transfer of hardware does not guarantee every plan will be open in every area. In places with limited capacity, the options may be reduced, or added fees may apply based on current Starlink policy.
For people buying from a friend, marketplace seller, or local reseller, Starlink also has a separate help page on activating hardware purchased from a retailer or end-user. That page helps connect the ownership transfer step with the activation step.
Pick a plan and complete the account setup
Once the account path is chosen, the buyer selects a plan. In the example, the available choices included residential-type and travel-style options. Your own screen may show different names, pricing, or promotions depending on market and account type.
One detail surprises many buyers. Even when the transferred hardware costs $0 at checkout, Starlink may still ask for a payment card. That’s because the hardware has already been paid for, but the account still needs a billing method for monthly service charges.
After account setup is completed, the transferred Starlink can begin working quickly. In the walkthrough, the new service estimate was about 15 minutes. The account also showed the next billing date shortly after activation, which gave the buyer a clear sense of when the first charge would hit.
The hardware then appears in the subscription list under the new account. From there, it can be renamed, managed, or grouped alongside other Starlink units already on that login.
The example also showed something unexpected: once the used unit was activated, promotional offers still appeared on the receiving account, including an option to reserve a Starlink Mini by email after activation. That does not mean every transferred kit gets the same offer. Promotions change often, and they can depend on plan type, location, and current Starlink campaigns.
Common transfer mistakes that create problems
Most transfer issues come from rushing the handoff. The hardware may be sitting in the buyer’s car, but the account steps still matter more than the physical exchange.
One common mistake is assuming cancellation alone completes the job. It doesn’t. A canceled Starlink can still belong to the original account holder. Until the transfer is confirmed, the seller may still control that device.
Another issue is timing. If the dish has not passed Starlink’s age requirements, the Transfer button may stay locked. The same goes for kits tied to promotions with minimum ownership periods. A free or discounted unit may look ready to sell, but the account rules may say otherwise.
Email mistakes are another headache. Since the activation message goes to the buyer’s email, that address needs to be exact. A small typo can slow everything down.
These are the slipups that cause most of the trouble:
- Selling the hardware without completing the account transfer
- Trying to transfer before the minimum time requirement has passed
- Forgetting that a promotion may block early transfer
- Entering the wrong email for the buyer
- Assuming the buyer can activate any plan in any location
- Confusing an inactive subscription with a completed transfer
Capacity can also affect the result. If the buyer lives in a crowded service area, plan availability may differ from the seller’s location. That means the hardware can transfer cleanly while the desired plan still isn’t available right away.
The process is simple once the rules line up. Trouble usually starts when one of those hidden conditions is ignored.
What a successful Starlink transfer looks like
When everything works, the handoff is clean and quick. The seller cancels service, waits for the account to show inactive, completes the transfer, and sees the hardware removed from the old account. Then the buyer opens the email, picks an account path, selects a plan, and activates the kit.
There is no need for a long support ticket in most cases. That matters because slow support can turn a simple sale into days of waiting. The self-service path is often the fastest route when both people follow the account steps in order.
The final screen tells the story. On the seller side, the Starlink no longer appears in subscriptions. On the buyer side, the dish shows up as a managed subscription and can be renamed or billed like any other Starlink on the account.
That clean break is the whole point. It separates billing, ownership, and control so the dish can move from one person to another without loose ends.
A clean transfer turns used hardware into a usable Starlink
The hardest part of a Starlink sale isn’t the box, the dish, or the cables. It’s the account transfer behind them.
Once the seller cancels service, waits for inactive status, and sends the transfer to the right email, the rest moves fast. The buyer can activate the kit on a new or existing account, choose a plan, and bring the dish back online without support getting involved.
A Starlink dish changes hands the right way only when ownership changes with it.